Metal Weathering
 By Cookie Monster. 04/06/10, 09:56 am By Cookie Monster. 04/06/10, 09:56 am
|
| This tutorial is for weathering common metals. It is done in a reverse style where the weathering is put on first and metal put over top, rather than weathering on top of the metal.

For painting metals you need quality paints, car body filler primer, car body primer, black primer spray paint, sand paper (200 grit), paint and paint brushes – rounded and flat.
A short about paints.
I do 95% of my painting with water-based acrylics.
Get all your coloured non metal paints from a paint shop. They often cheaper from art stores, they are also more durable.
Test pots are $5-$15 and you get a fair bit for your money. It is also more durable than art paint.
If the paint is fresh, it is at the right consistence to start painting with, no thinning required. If it needs thinning you only need to add water.
Try to aim a consistency like milk.
Avoid paste paints in a tube like the plague.
Metallic paints
Silver paint is just aluminium flakes in black paint, the shinier the paint, the more aluminium flakes, the dark the paint, the more black paint it has.
Gold paint is black paint with a mixture of brass and aluminium flakes. The brighter the gold, the more polished the brass flakes. If it also gets lighter in colour, it also has more aluminium flakes in it.
Going into your bronze and brass colours, they’re a mixture of unpolished brass, aluminium and copper flakes in black paint.
Remember, you are not buying gold and silver here! So you shouldn’t pay for your paint like it’s made out of gold and silver.
Painting techniques:
Basecoat: Cover the whole area with paint. Dip your brush into the paint and brush onto the area you are painting. Keep your brush stokes in one direction for a smooth look. Remember to be sparing with your paint, don’t slather it on. It may take up to 5 coats for a bright solid colour.
Any other coats of different colours/shades it called Layering
Stipple: Dip your brush into your paint, about half way. Now wipe most off the excess paint of the bristles. Dab your paintbrush onto you surface.
Drybrush: Use an old paintbrush for this, it is important to make sure the brush is completely dry from water.
Load up your brush as mentioned in the Stippling technique. Now wipe off all paint from your brush. Keep on wiping until when the bristles are rubbed against your skin, it leaves virtually no paint at all.
You’re now ready to start dry brushing. Take your brush and scrub it over your prop. This will leave a dusting of paint which will pick out edges and details. Multiple coats will brighten the edges. On flat surfaces the paint will look dusty. This is a great technique for a dusty item.
Overbrush:
Virtually the same as drybrushing, the only difference is that there’s a little more paint on the brush, and instead of scrubbing, you pass your brush over the top of your prop.
Basic Prep
Before paint, you need to prepare you prop for painting.
Spay your prop with Car body filler primer, 3 coats should be enough, leaving time to dry in between. Remember when using spray paints to only do a light coats – If you spray on thick/heavy coats your paint will build, hide details and/or drip.
Lightly sand back the filler primer.
This will hide small blemishes and imperfections, or in the case of balsa- or drift- wood (driftwood is a cheap source of light wood also!), it will hide the gain of the wood.
Spray your prop now with the car body primer. Again 3 light coats is enough. Once this is dry, lightly sand it back. Take care not to remove the primer back to the original prop material.

Undercoat your prop with black primer and it is now ready for painting!
Rusted Metal:
Paints you will need:
Metal, preferably a medium Silver colour – Like stainless steel.
Dark Reddish-Brown
Bright Orange
1. Basecoat the metal area with the dark reddish-brown paint. Leave to completely dry.
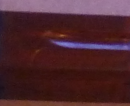
2. Stipple on the orange paint. Once again, leave to dry.
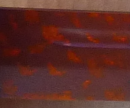
3. Drybrush with Meal Paint.
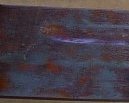
Brass and Bronze:
Paints you will need:
Dark Green
Ice Blue
Bronze
Brass
1. Basecoat the brass area with the dark green paint. Leave to completely dry.
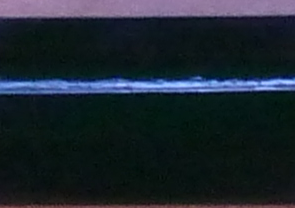
2. Dry Brush on the Ice Blue Paint.
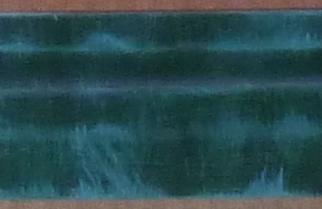
3. Once the Blue paint is dry, Overbrush with Bronze paint.
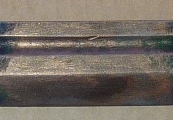
4. For brass, leave the bronze paint to dry, then overbrush with brass.
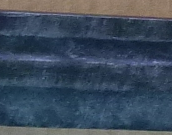
Tarnished Steel:
Paints you will need:
Dark Metal
Light Metal, preferably a medium Silver colour – Like stainless steel.
Dark Blue-Green Ink
Dark Green
1. Basecoat the steel area with the Ink. Leave overnight completely dry.
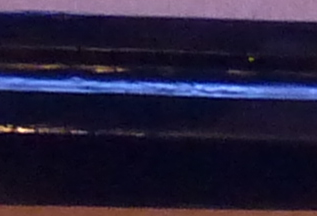
2. Dry Brush on the Dark Metal.
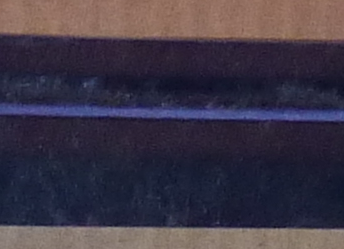
3. When the Metal paint is dry, Overbrush with the Dark Green Paint and leave to dry.
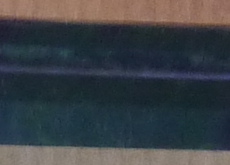
4. Drybrush with the Lighter Metal paint.
Gold and Gilt
Paints you will need:
Gold
Silver
Chestnut or maroon Ink
Gold
1. Basecoat the Gold area with gold paint. This can take up to 6 coats
 -> -> 
Alternatively Spray paint your gold on. I recommend “Rust-oleum Bright Coat Metallic Finish - Gold”
2. Leave to dry overnight.
3. Put a wash of ink over the gold. Leave to dry overnight also.
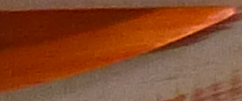
4. Overbrush with Gold paint, this may take 2 coats.
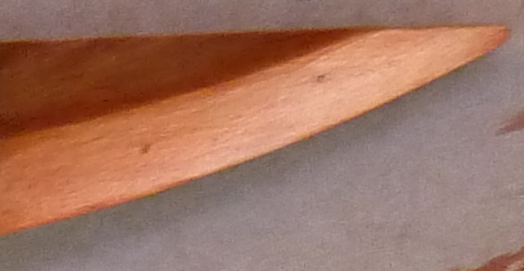
Finish with a light drybush of 1:1 mix of Gold and Silver paint.
Gilt
1. Use same process as for gold, however instead of finishing with a drybrush of 1:1 of gold and silver, overbursh it instead.
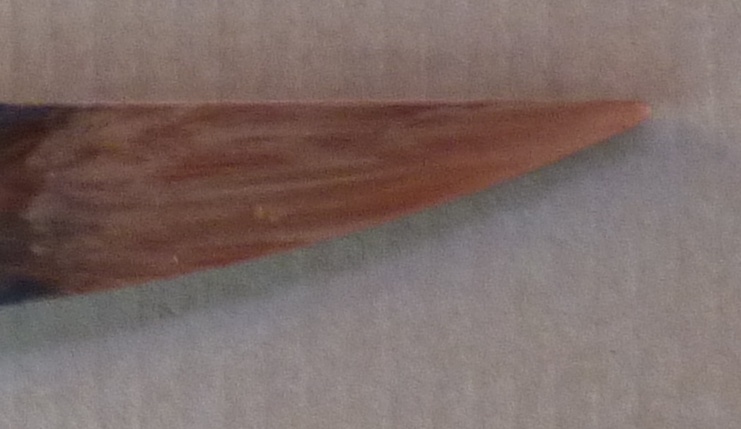
2. Pick out edges with pure silver paint.
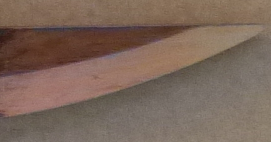
Last edited by Cookie Monster on 31/07/10, 05:52 am; edited 1 time in total |
| 
Cookie Monster
Superman
Number of posts : 254
Age : 43
Location : New Zealand
Transforms into : Fruit and Veggie Monster :(
Gender : Male
Registration date : 2009-04-08
 |
Re: Metal Weathering
 By Alatyr. 30/07/10, 02:29 pm By Alatyr. 30/07/10, 02:29 pm
|
| Wow.
Brilliantly helpful, thankyou. This is going to come in very handy.
Great work. |
| 
Alatyr
Tophat
Number of posts : 152
Age : 31
Location : The dark side of the sun.
Transforms into : A bear. A great big, grizzly bear.
Gender : Male
Registration date : 2009-09-29
 |
Re: Metal Weathering
 By JVCA. 30/07/10, 02:31 pm By JVCA. 30/07/10, 02:31 pm
|
| | You are amazing for posting this - thank you! |
| 
JVCA
Pronounced "Jay-vee-ka"
Number of posts : 7122
Age : 33
Location : Howick, Auckland
Transforms into : a crotchety old woman
Gender : Female
Registration date : 2007-11-25
 |
Re: Metal Weathering
 By Sponsored content. By Sponsored content.
|
| |
|
Sponsored content
 |
